
Do you want to take an enticing picture of the lunch or dinner you cooked with great dedication? Are you disappointed after every click as your photo doesn’t look as irresistible as you see on food websites? No doubt, food photography is not as easy as you may think. It is an acquired skill that improves when you learn new tips and tricks. Many aspects are worth considering during food photography that makes your food look delicious and beautiful at the same time.
If you are a food blogger mom, beginner food photographer or just a hobbyist, you can also make your meal photos tempting and mouth-watering. Here are some tips and tricks for food photography that can help you click a professional picture. Let’s read and take photographs like a pro.
- Focus On Perfect Lighting
If you need a perfect food photograph, focus on lighting. First, understand the light intensity and how it hits the food. The best photos hit when you shoot your food in natural daylight. Using artificial lights need experience. If you use an artificial lighting source as a beginner, you’ll be more likely to distort the natural beauty of pictures by creating an orange or yellow shadow on them. Find the best spot in the morning in your bedroom or your living room after the afternoon. However, shooting in the bright sun can create soft shadows on the photos.
- Use a Tripod

Most beginners prefer keeping cell phones or cameras in their hands while shooting for maximum freedom. It can be messy and result in grease smudges on the lens. Also, it causes shaky or blurry images. Use a quality tripod to avoid the mess. By doing so, your hands will be free for making arrangements and adjustments.
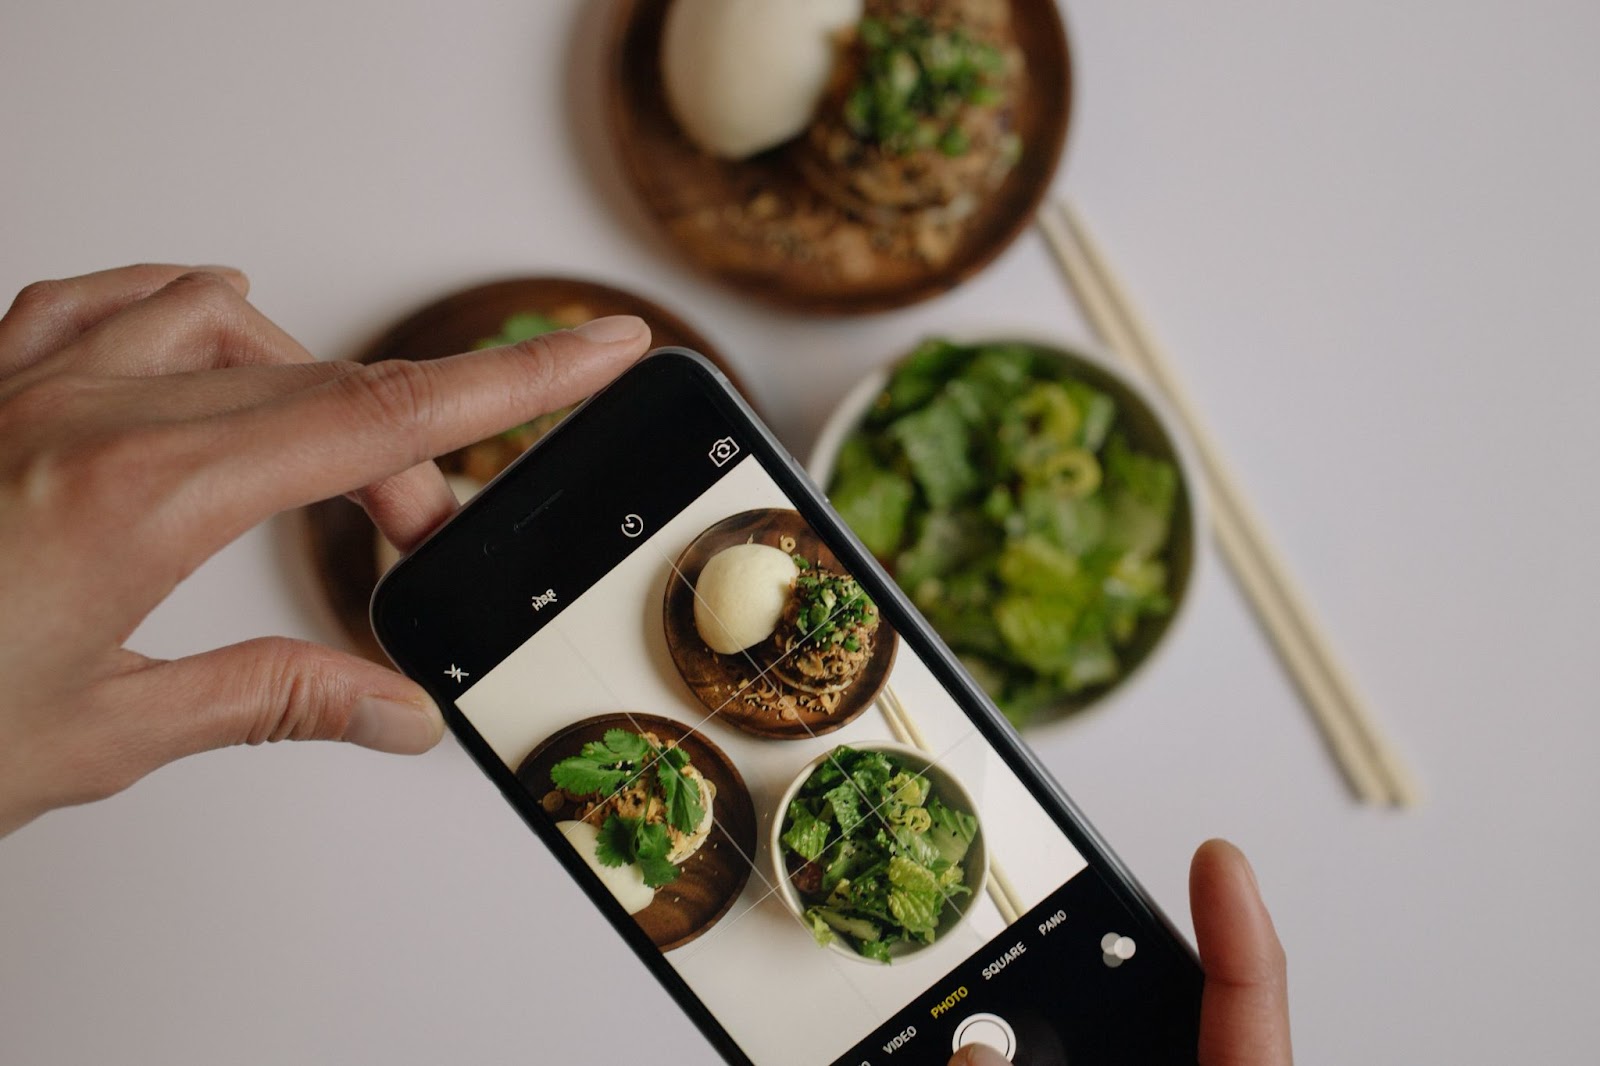
- Try Different Angles When Shooting
You might have noticed that professional food photographers take pictures from different angles. Therefore, you should try shooting in multiple angles to take similar food photos. If the food is arranged on a plate or a bowl such as pizza, soup, cereal bowl, taking images from above is the best option. It allows you to cover all the food, cutlery, and background details.
Side photography works perfectly for stackable food items such as pancakes and burgers or just cakes, muffins, and slices of bread. If you want to shoot drinks or smoothies, try a 45-degree-angle. Similarly, taking diagonal allows you to capture a three-dimensional shape of the food.
- Consider a Neutral Background


Your food and the background both matter a lot in taking an appealing food photograph. Ensure that the background is neutral to avoid the viewer’s distraction from the focused subject in the image. Generally, muted textured surfaces such as wooden, plain and dark backgrounds are recommended for shooting food. Neutral background doesn’t mean to keep it completely simple. Instead, it should be less attractive than the main image. Of course, modern editing tools allow you to change or remove the background effortlessly, but it is still better to take care of things beforehand.
- Add More Elements to Link a Story
You can add more elements to create a story and make your food photography more exciting. It will draw more viewers’ attention and look professional. For example, adding birthday caps with cupcakes indicates a celebration. In addition, introducing an open reading book besides a teacup and some snacks shows that you are enjoying the reading time.
- Post-Process Photos at Once
Clicking food photographs is easy, but editing many photos to achieve a final look is boring and time-consuming. Worried about the editing overload and choosing the final image? Don’t worry. Now you don’t need to hire a professional, you can easily do it at home.
With the help of editing software, you can correct the common mistakes of a group of photos rather than edit them one by one. In addition, you can use mood-changing filters, protect your copyright, add text, date stamps and resize all the images at once. Just check the tutorial on how to edit multiple photos at once and do it yourself.
Hopefully, you like these simple tips and tricks for food photography. These will help you not only in making perfect food photos but also add more knowledge to your existing photography skills. You can take many snaps and select the best one to use in blogging or sharing on your social media platforms. Once you master the basic photography skills, you’ll have more fun shooting your meal photos.