
It’s always interesting to flip through the old photo albums and look for a resemblance to your next of kin. But sometimes photos get lost or fade with time, relatives grow old and their memory is not as sharp as it used to be. But there is a way to preserve your family history – make a family tree. And be sure to take your kids along with you for this interesting and challenging task!


Family tree is a chart documenting the relations between people in several family generations. You may feel puzzled thinking about how to create one and where to begin. Keep on reading and find out the steps to make your own family tree.
- Gather the Information
The very first step to make a family tree is to gather all the needed information. Usually one begins with asking his or her relatives. But before doing it, think about what you want to include in your tree. Just the names and dates, or maybe some more information like place of birth, education, occupation. Make a list of questions, write them down and leave space to write the answers. When you’ve gathered all the information from your relatives, you can move to a more thorough research. The easiest way is to search the Internet. Here is an example of a useful service that will help you discover more about your family roots.
- Make a Draft
Once you have all the necessary information it’s time to make a draft. Organize all the data that you have and see what is missing. Decide how many generations back your tree will go. The easiest way to do this is to have each tree level represent just one generation. See how much additional information you have, and if you have enough space to put it in. Make a simple pencil draft.
- Prepare the Pictures
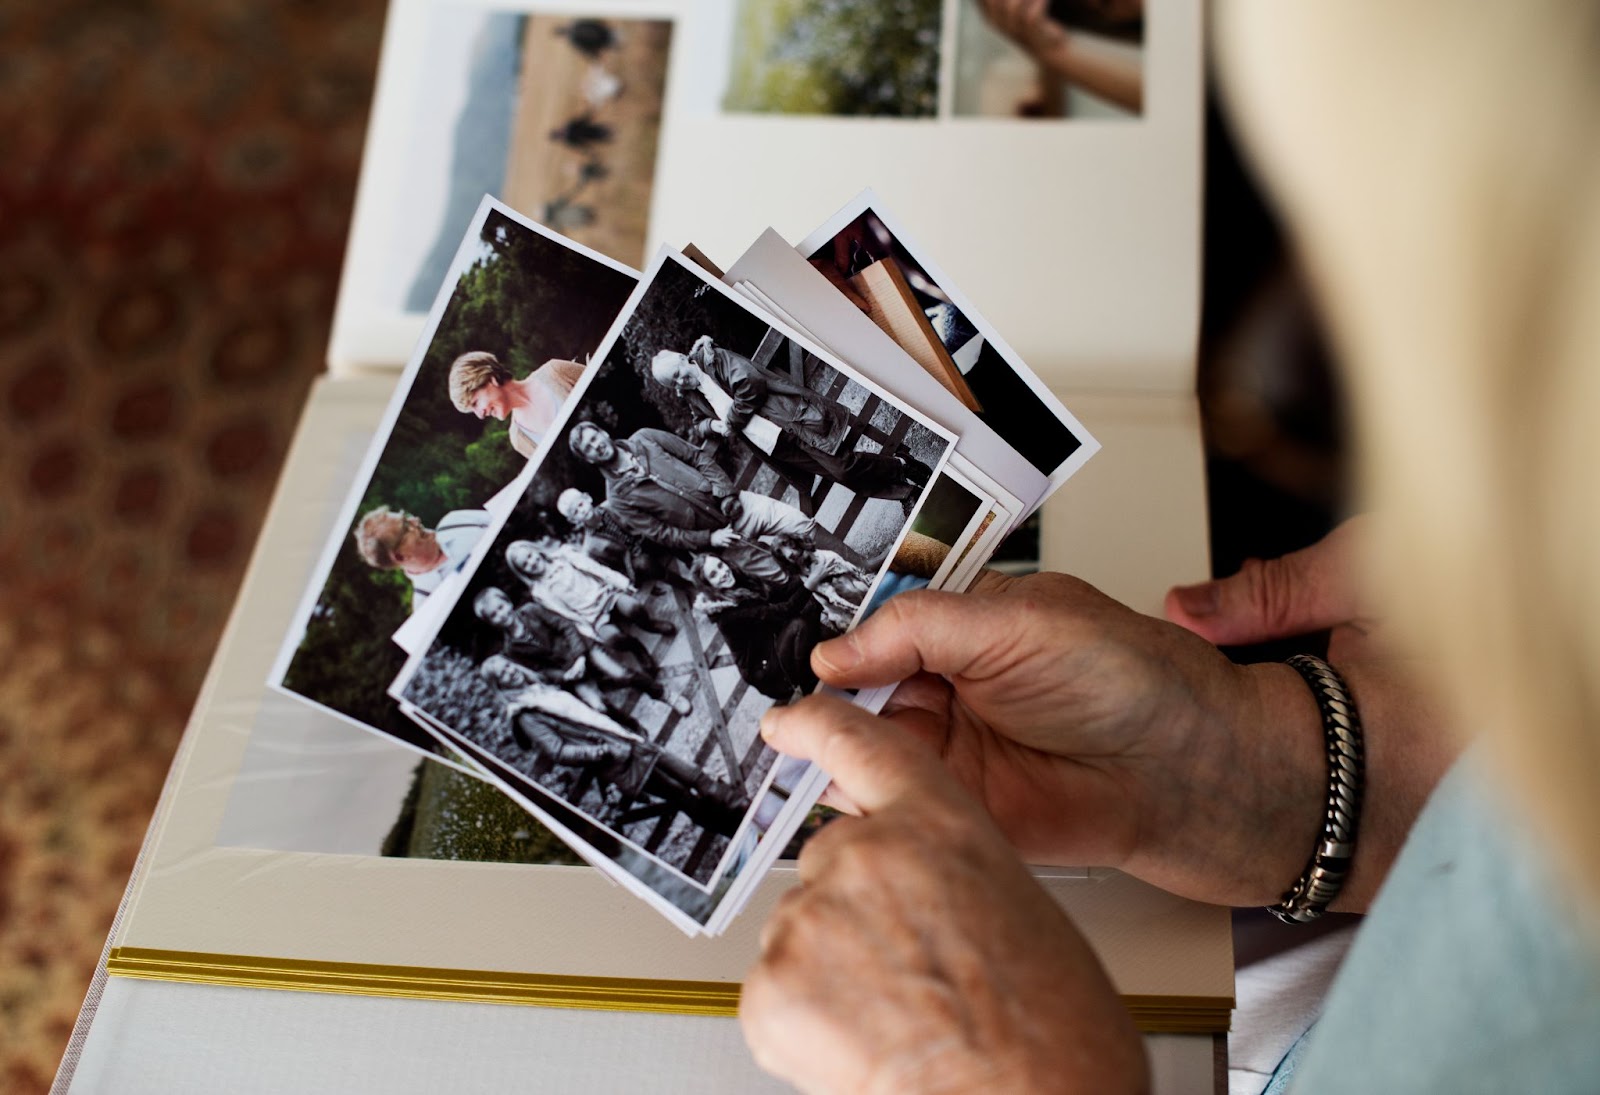
Now that you have a draft, you can start preparing pictures. There are examples of trees without any images, but the ones with pictures look much more interesting. Look through the old albums, ask your relatives to send you photos. Don’t get sad, if some of the pictures are not in great condition. There are manual ways to restore them or offline services that offer help. But you can also do it all by yourself with the help of a photo restoration program. It doesn’t require any specific knowledge, and offers a lot of AI tools that will remove scratches in a click or even colorize your black-and-white pictures.
- Pick the Template
The next step is to get creative! You have all the information, pictures and the draft. It’s time to look for inspiration. Search the Internet for family tree templates and see what suits you best. Once you’ve found something that you like you can print it out at home and glue together or carry to the shop to print on a larger scale printer.
- Create the Family Tree
And the last but not least step is to assemble everything together. Get your printed out family tree template and assign the kids to cut out the pictures. Get your pen, write down all the data and glue the pictures to their spots. You can embellish your tree with some extra stuff: pieces of fabric, ribbons or buttons. And as a finishing touch – frame it and hang it on the wall.
That’s it! Your tree is ready. It was a lot of work, but very rewarding. You had the opportunity to talk to your relatives, spend time with your kids and show them the history of the family roots. And now that the kids have the experience of making a tree, they will be able to keep this family tradition and preserve the family history in a tree.